Kale Greens, Simply Dressed

Kale Greens

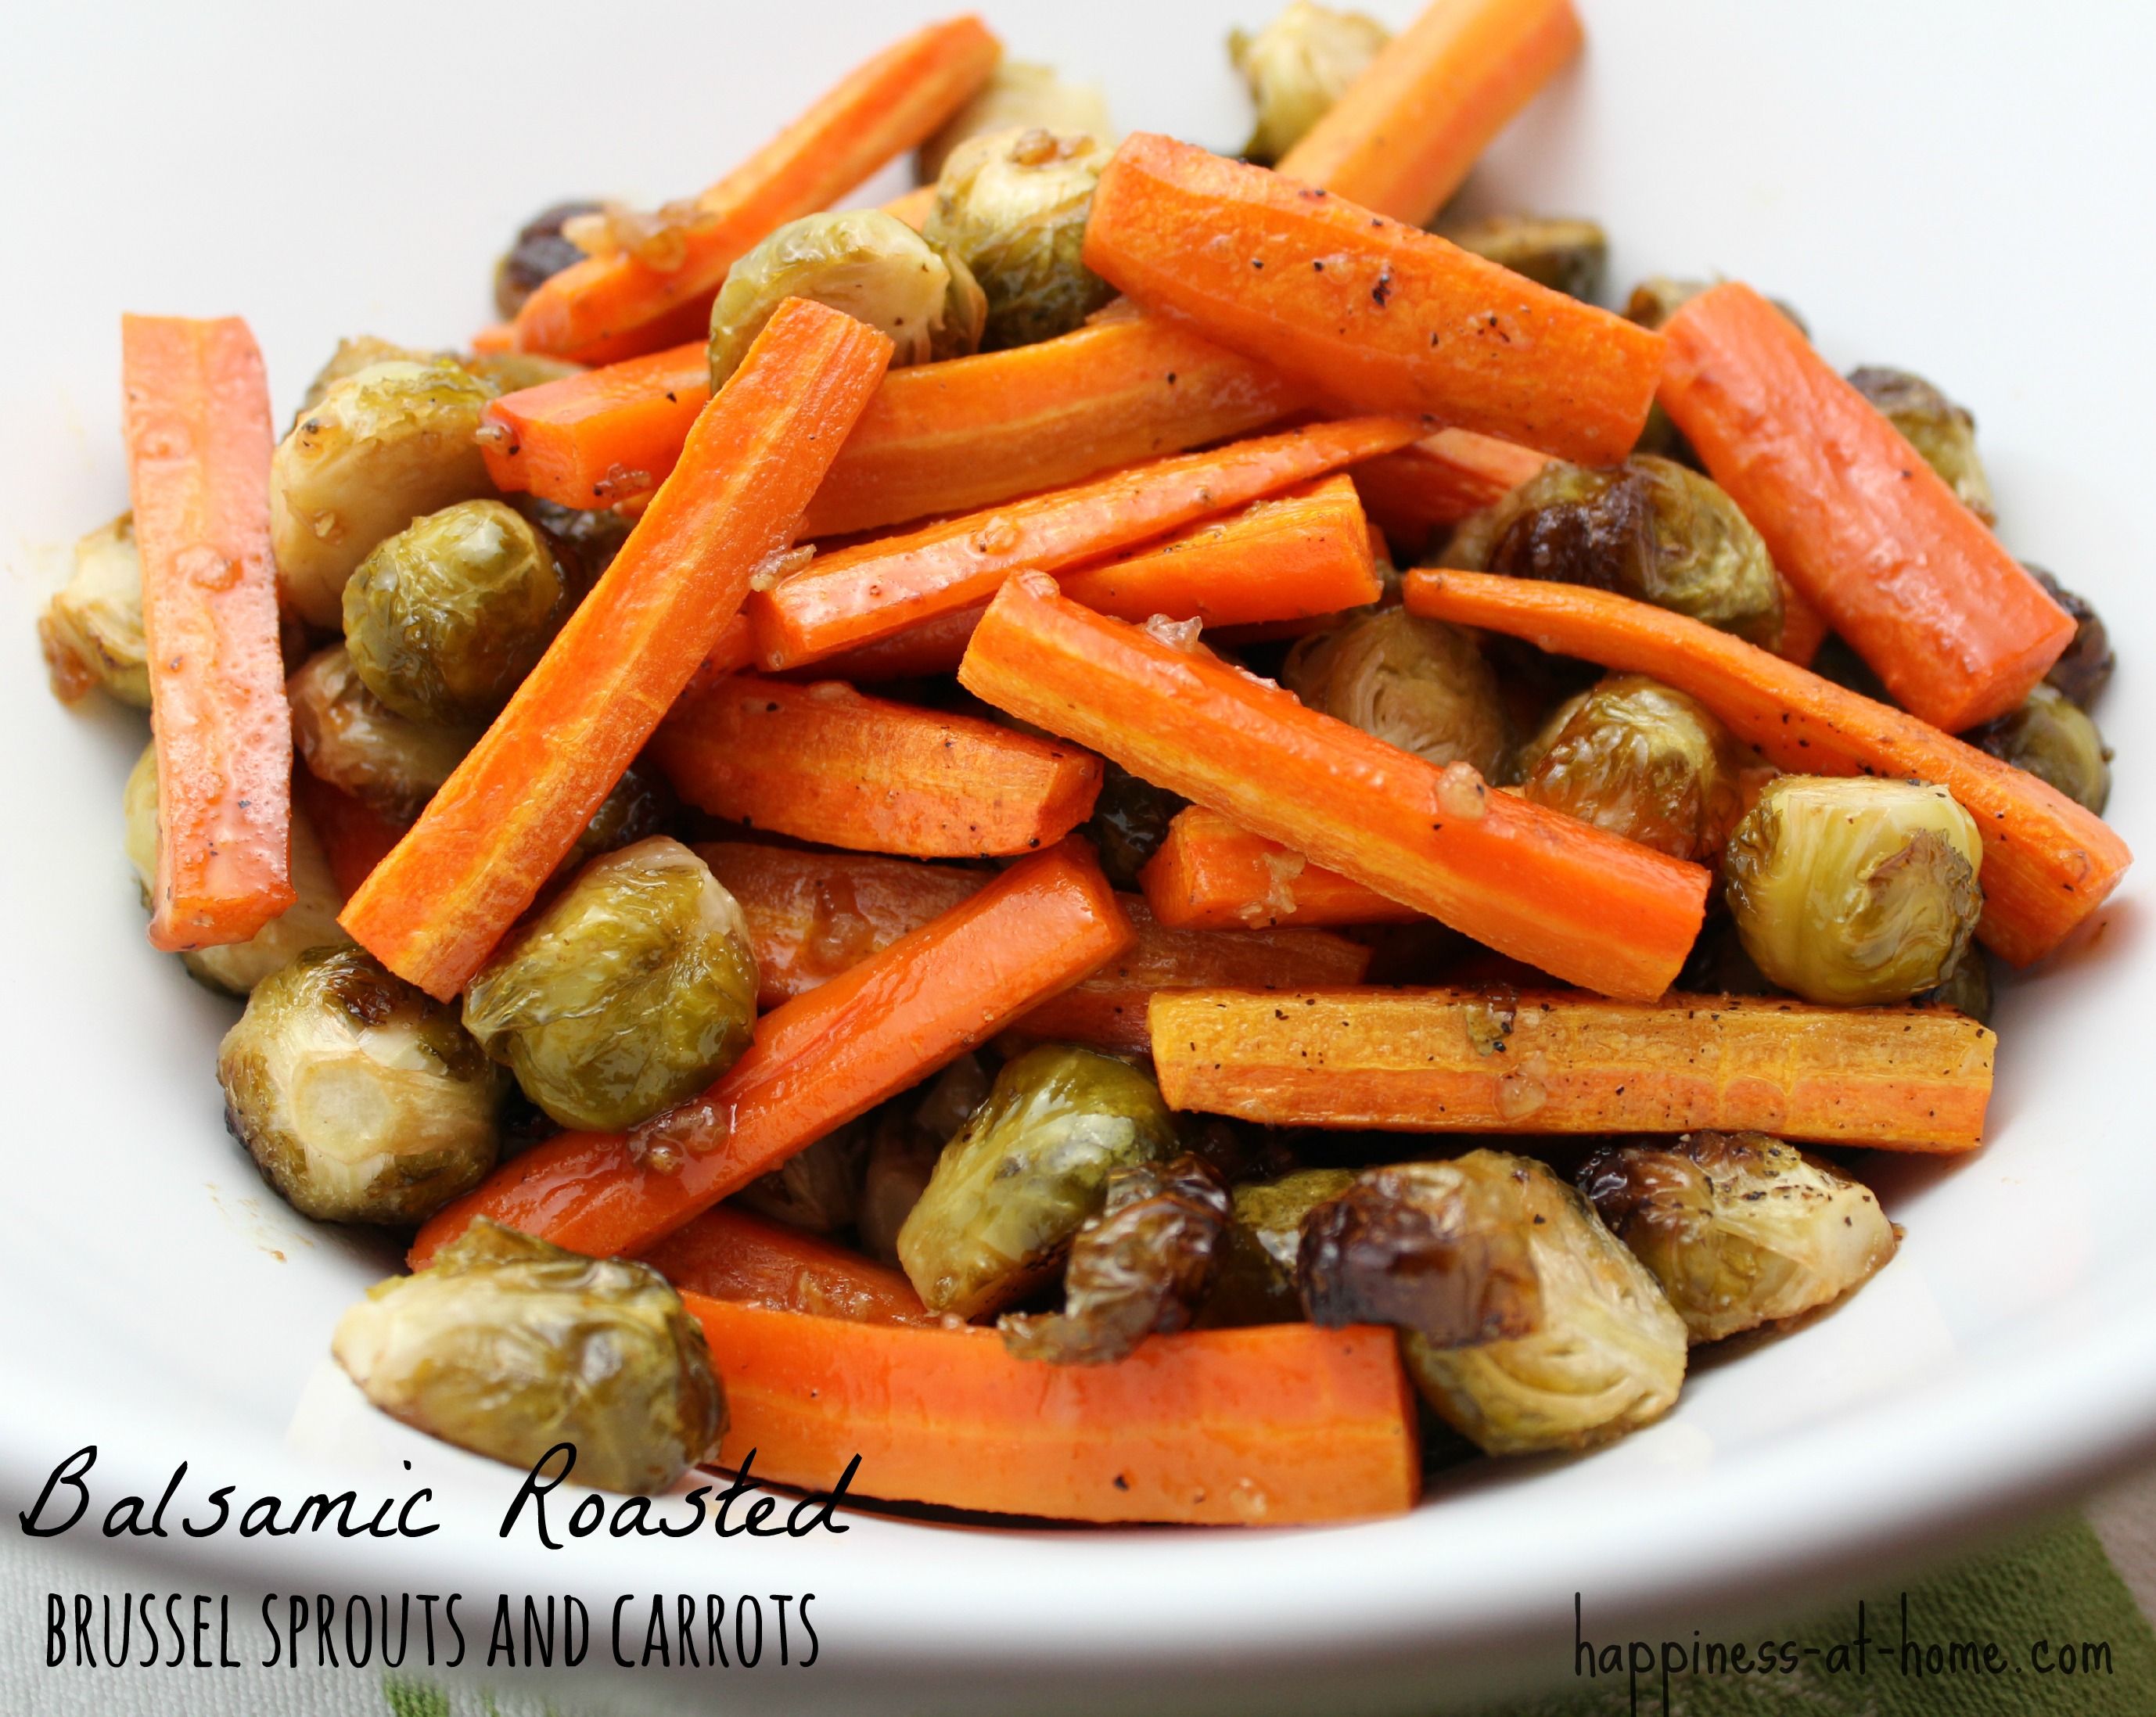
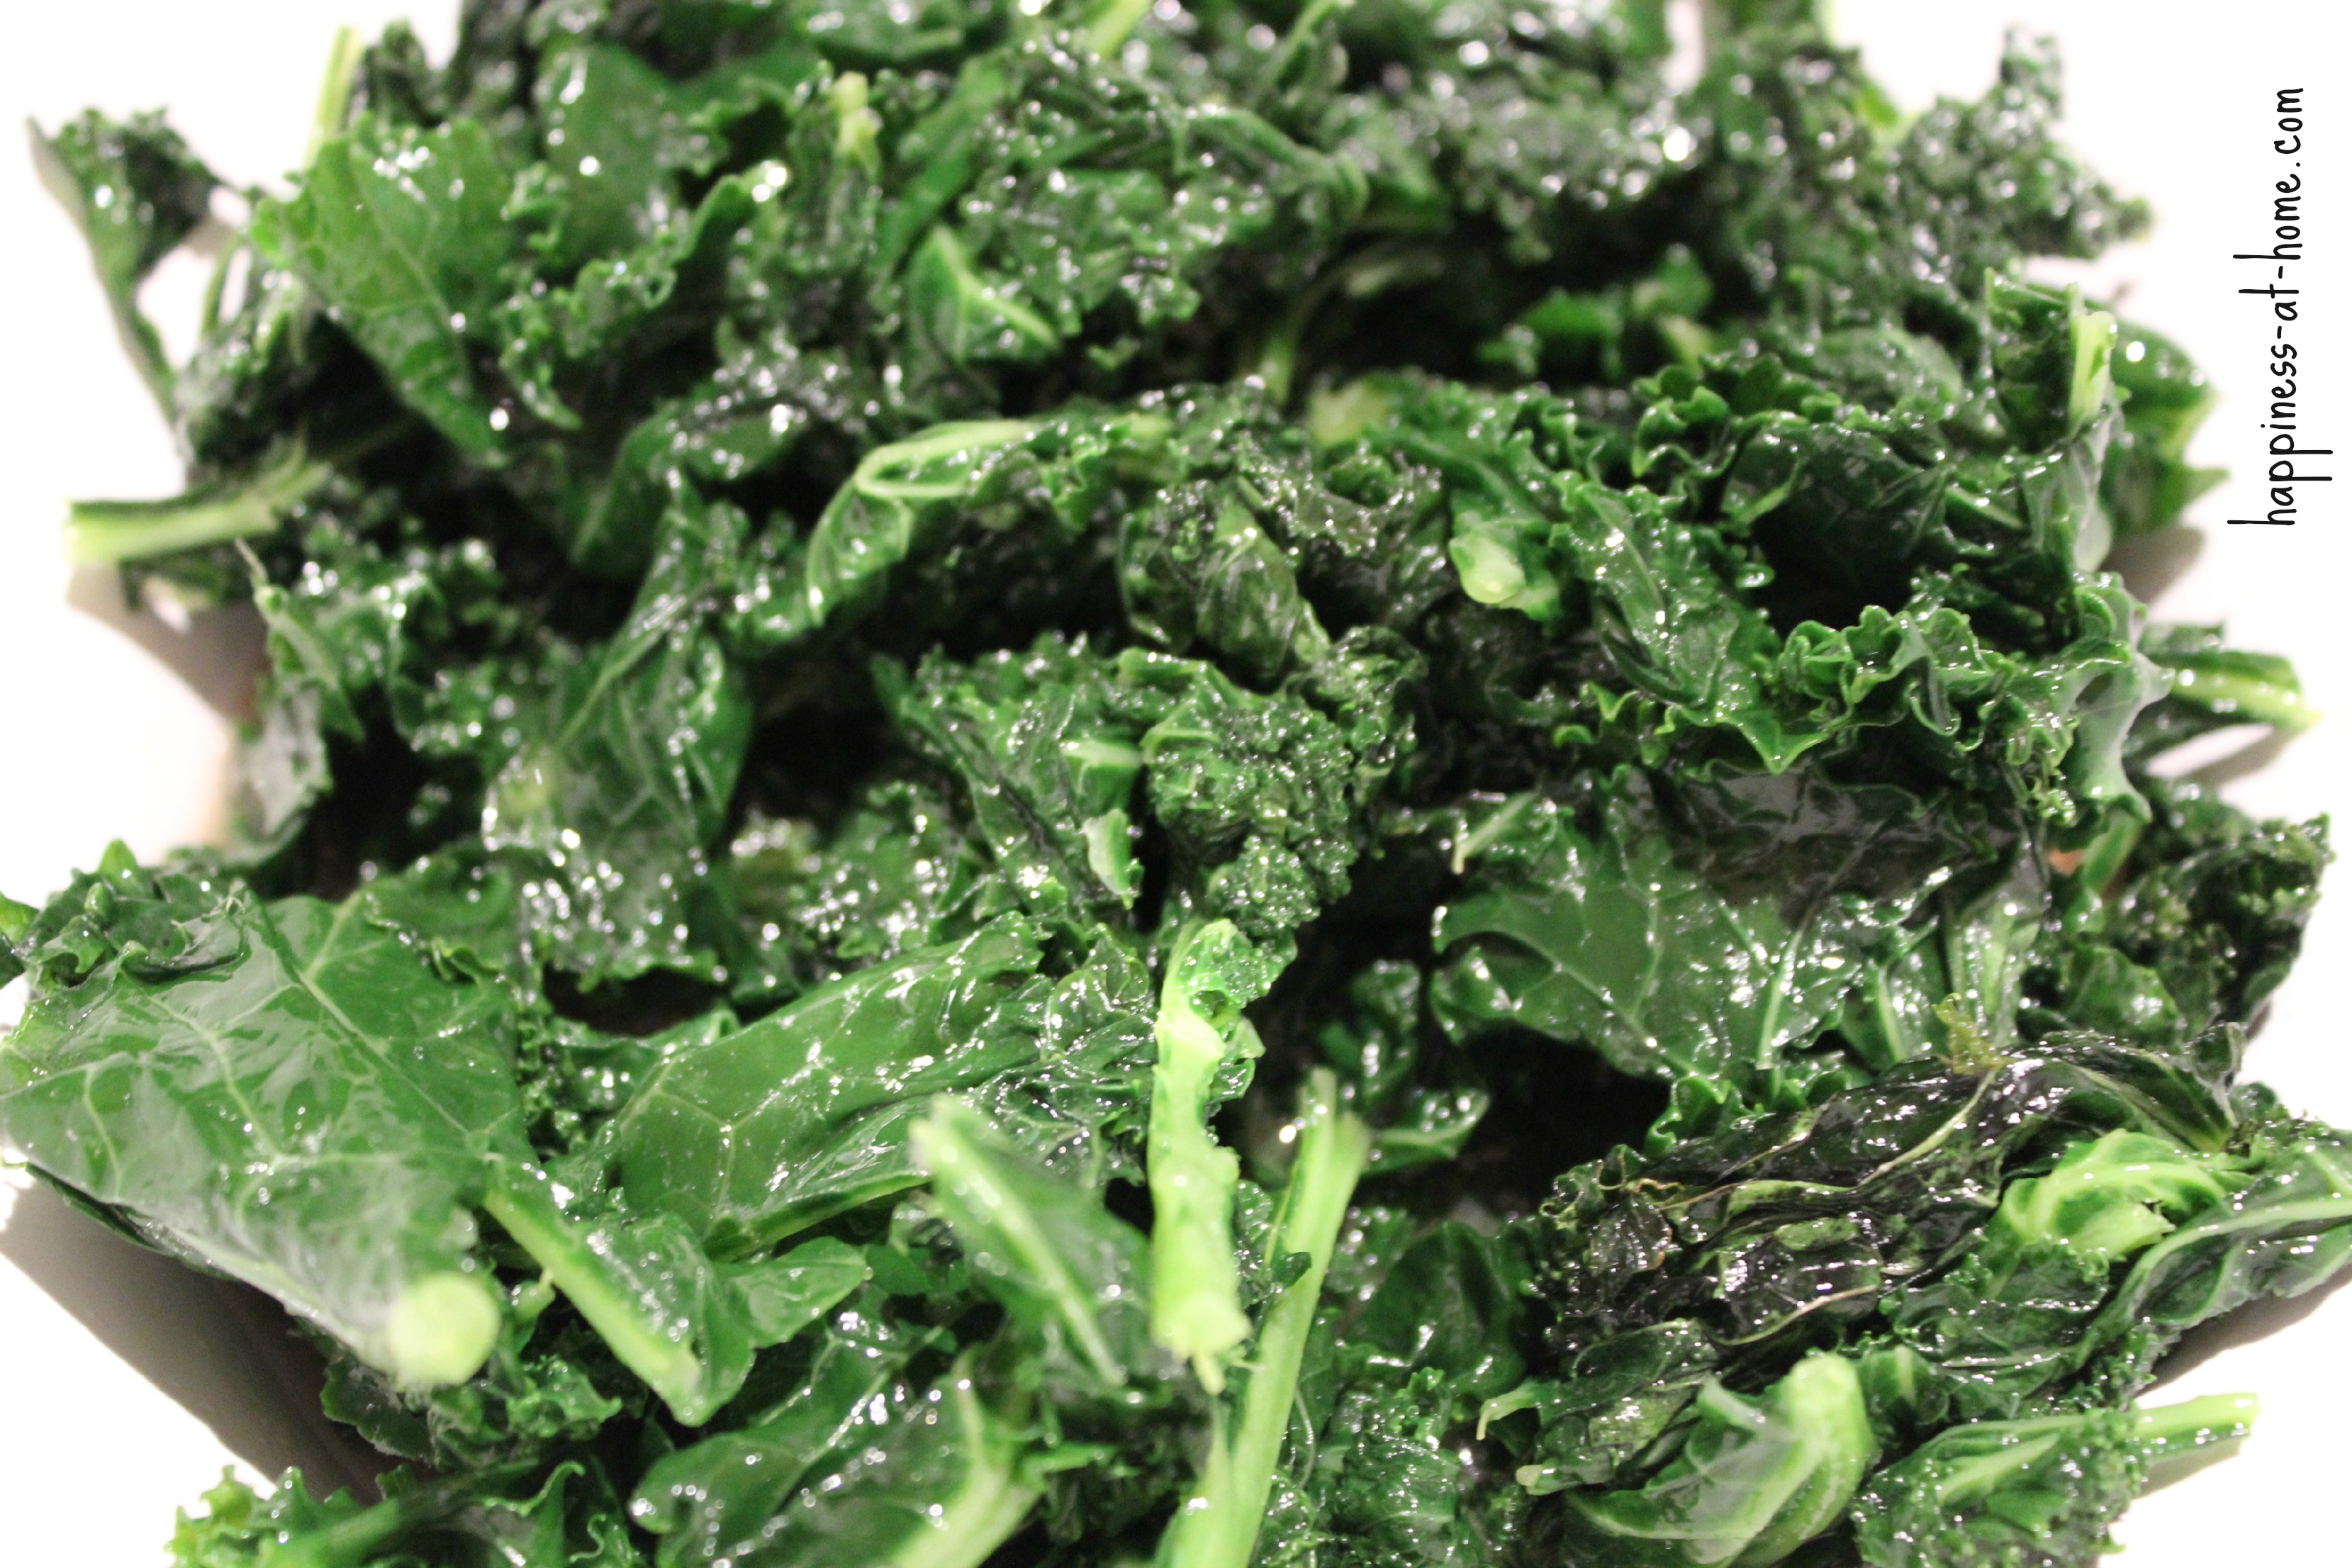
Kale has always been my favorite in the “greens” family; it’s heartier texture holds up well to cooking and milder flavor pleases my palate. And now, I have found my new favorite way to cook and serve them!

My typical method for greens was to fry up a little bacon, saute some onion in the grease, add the greens with a mixture of water, vinegar, and sugar, and cook down for a few minutes. Top with the bacon and enjoy! That’s how mom makes them, and they are so good that way, but not too long ago I tried something a different, and it was a winner.

When you cook the greens in liquid, they can overcook really quickly (especially when you have a tendency to walk away from the stove for a minute, like yours truly!), which leads to mushy greens – not my favorite. So I got to thinking about how to add the flavor without adding the extra liquid. I decided to lightly saute the greens, and then dress them after they’re done and still warm. It worked wonderfully.

Kale starts as a giant pile of greens that you think will never all fit in your pot, and then it cooks down to such a tiny amount that you’re sure a kale thief broke into your house and stole it all when you weren’t looking. Because it can be so unwieldy at the start of cooking, I always found it hard to make sure all the greens were seasoned evenly while cooking. Waiting until after they are cooked to add my seasoning fixed my problem, and the easiest method for me was to toss them in a simple vinaigrette (plus we all know how much I love a vinaigrette).

The kale comes out crisp-tender and evenly coated with the vinegar flavor that pairs so well with any green, and I feel like I haven’t cooked my veggies to death and still have all of the nutritional benefits of what has come to be known as a “superfood”. Plus, it just tastes super!

Kale Greens with Vinaigrette

  • 2 bunches fresh Kale – rinsed, drained, and roughly chopped
  • 2 tablespoons Olive Oil
  • 1 tablespoon Dijon Mustard
  • 2 tablespoons Red Wine or Apple Cider Vinegar
  • 1 tablespoon Pure Maple Syrup
  • 1/4 teaspoon Salt

Start by making the dressing so that it is ready, as the kale will not take long to cook.

In the bottom of your serving bowl, whisk together mustard, vinegar, maple syrup, and salt. Set aside.

Heat the olive oil in a large pot (really large, I use the biggest soup pot I have) over medium high heat. Add the kale and saute for one minute, tossing and stirring constantly. Reduce heat to medium, cover the pot and steam greens for one more minute.

Place greens in serving bowl with dressing, and toss to coat. Serve immediately.

Roasted Pepper and Onion Couscous

Roasted Pepper and Onion Couscous

There are a couple of nights a week where we all get home about 5:30 and then have to rush around to get something awesome going for dinner. I rely on my meal planning, prepping what I can ahead of time, and a few really easy components. Couscous is definitely one of those easy options. If you can boil water, you can make couscous! No really, it’s that easy! You just stir the couscous into boiling liquid, and it takes care of the rest on its own.

When I can, I like to jazz it up a bit, such as this idea for combining it with some roasted veggies to make a complete side dish. Really, you can roast whatever vegetables you’d like, but I love how the sweetness develops in the peppers and onions, and then combines with the savory couscous and the crunch of the toasted pine nuts.

Roasted Pepper and Onion Couscous

  • 1 Red Bell Pepper
  • 1 Yellow Bell Pepper
  • 1 Red Onion
  • ¼ cup Olive Oil
  • ½ teaspoon Salt
  • 1 cup uncooked Couscous
  • 1 cup Chicken Broth
  • ¼ cup Toasted Pine Nuts (see note below)

Preheat oven to 400⁰.

Chop both peppers and onion into 1” pieces. Toss with olive oil, spread on a baking pan in a single layer, sprinkle with salt. Roast for 20 minutes.

When veggies are almost done, bring chicken broth to a boil, stir in couscous, remove from heat, cover and let sit for 5 minutes. Fluff with a fork.

Serve cous cous in a large bowl with roasted vegetables and any pan juices. Top with pine nuts.

NOTE: To toast pine nuts, place them in a dry pan over medium high heat. Cook for about 5 minutes, stirring frequently. Keep an eye on them; they can and will burn quickly!

Balsamic Roasted Brussel Sprouts and Carrots

Balsamic Roasted Brussels and Carrots

Everybody knows that a “spoonful of sugar helps the medicine go down,” and apparently, in the South, that works for vegetables, too. Maybe it’s not just us Southerners who do this, and maybe it all started just to get the young ‘uns to eat their veggies, but whatever it is, even I have adopted the “spoonful of sugar” method when cooking some vegetables (lima beans!).

These balsamic roasted Brussel sprouts and carrots are my answer to the need to add sweetness to vegetables. I love roasting vegetables, and almost always, roasting brings out the natural sweetness, but adding this balsamic glaze gives a little extra punch.  Roasting at a higher temperature for a shorter length of time means the vegetables get nice and caramelized but still keep some of their crispness, and the balsamic vinegar brings both sweet and tart flavors.

Balsamic Roasted Brussel Sprouts and Carrots

  • 1 lb. fresh Brussel Sprouts, washed, trimmed, and cut in half if large
  • 5-6 large Carrots, peeled and cut into sticks
  • 1 tablespoon Dijon Mustard
  • ¼ cup Balsamic Vinegar
  • ¼ cup Olive Oil
  • 2 cloves Garlic, minced
  • ½ teaspoon Salt
  • Pepper to taste

Preheat oven to 400⁰. Coat a baking pan with non-stick spray.

In a large bowl, whisk together Dijon mustard, balsamic, olive oil, and garlic. Toss vegetables in balsamic mixture to coat evenly.

Pour vegetables onto pan and spread into one layer. Sprinkle with salt and pepper. Roast for 20 minutes until just starting to brown.

Baked Zucchini and Tomatoes

Zucchini and Tomatoes

Vegetables, I need vegetables! After eating rich, heavy holiday food for a while, I am so ready for a plate with some fresh vegetables on it. Don’t get me wrong, I love warm, cozy, comforting winter foods, but right now I’m also longing for that light, crispness a fresh vegetable can bring. Kinda hard to find a farmer’s market right about now, but I can get zucchini in the grocery store, and I’m pretty sure this recipe will do the trick!

This dish is easy to toss together, and the flavors of tomatoes, garlic, and zucchini are always a hit. Even though these veggies are baked, the zucchini still has a crispness and a light taste, which is just what I am looking for.

Baked Zucchini and Tomatoes

  • 3-4 medium sized Zucchini, cut into 1-inch pieces
  • 2 cloves Garlic, minced
  • 1/2 teaspoon Salt
  • 1 cup freshly grated Parmesan cheese
  • 1 14 oz can diced Tomatoes (I like the Italian seasoned kind.)
  • 2 tablespoons cold Butter, small diced

Preheat oven to 400. Spray a baking dish with non-stick cooking spray.

Put zucchini in the baking dish, top with garlic, salt, and 1/2 cup of the Parmesan cheese. Pour tomatoes over the top. Dot with diced butter. Bake for 20-25 minutes.

Top with remaining 1/2 cup Parmesan cheese, and return to oven for another 5 minutes. Serve hot.

Mediterranean Orzo Pasta

Mediterranean Orzo

I have found my new go-to pasta salad! Whether it’s to eat here at home or take to a pot-luck, this is it! I really could eat this pasta salad by the bowlful.

These hot summer days call for an easy, cool side dish, so I threw together some of my favorite flavors and wow-ed the family. You have the light, lemony dressing with the sweet bites of grape tomatoes and tangy feta cheese.  Cucumber adds crunch, and herbs straight from the garden add a freshness you just can’t get any other way.

This is a great make-ahead dish and comes together in a flash. Next time you have a hankering for a summery side dish or need to take something to a picnic, give this a try. I really don’t think you’ll be disappointed!

Mediterranean Orzo 

  • 1 cup Orzo pasta, cooked and drained according to package directions
  • 1 Cucumber, seeded and diced (peel if you wish)
  • 2 Green Onions, diced
  • ½ cup Kalamata Olives, chopped
  • 1 Roasted Red Pepper, chopped (about ¼ cup)
  • ½ pint Grape Tomatoes, halved
  • 1 tablespoon chopped fresh Parsley
  • 1 tablespoon Dijon Mustard
  • Juice from 1 Lemon
  • 1/8 teaspoon salt
  • ½ cup Extra Virgin Olive Oil
  • 8 oz crumbled Feta Cheese

In a large bowl, toss together cooked pasta, cucumber, onion, olives, red pepper, tomatoes, and parsley.

In a separate small bowl, whisk together mustard, lemon juice, salt, and olive oil to make a dressing. Pour over pasta mixture and stir to combine. Refrigerate 4 hours or overnight.

When ready to serve, remove from refrigerator and let set for 15 minutes to loosen the dressing. Stir in feta, reserving a few crumbles to sprinkle on the top.


Herb Roasted Corn

Herb Roasted Corn

A couple of weeks ago my Aunt Denise came for a visit, so of course, a big family dinner was in order. As I was chasing the Little Man around, I noticed Aunt Denise was working on the corn, and I was super interested in what she was doing, but the kitchen wasn’t holding our interest, so off we went to bigger and better things.  As we flitted in and out, I tried to catch on to what she was doing.  I heard things like, “usually on the grill”, “this should work”, and “cover it all with herbs”.  Whatever she did, the corn on the cob that night was fabulous! It was cooked perfectly and slightly scented with herbs. I had to re-create it for myself! Based on the snippets I heard that night, and the fact that it sure did taste good, I think I got it right! Big thank you to Aunt Denise for always teaching me a few new things.

This is more of a method than a recipe, and it will depend on how many ears of corn you are doing, but it is really easy to throw together and forget about for a while.  Just pop it in the oven – no turning corn cobs on the grill or standing over a boiling pot.

Herb Roasted Corn

  • Corn on the cob, shucked and rinsed (I did 6)
  • Olive oil
  • Handful of fresh sage, basil, and parsley
  • Salt

Pre-heat oven to 350⁰.

Drizzle corn with olive oil and rub it in to coat each ear. Place on baking pan.

Sprinkle with salt.

Cover the corn with the herbs. You don’t have to chop them, just lay the leaves over the cobs.

Cover the pan tightly with foil. Bake for 45 minutes – 1 hour. I peeked at mine after 45 minutes and decided to give them a few more minutes.

Remove herbs from cooked corn. Serve with an herbed butter, if you wish.

Summer Succotash

Summer Succotash

Spring has come and gone like a flash, and at this point I think it’s safe to say we are in the full swing of summer! When you live in Middle Tennessee, sometimes your springs are short-lived, and all too soon you are left with heat, humidity, and mosquitoes. However, it also means tending my own garden, strolling through the farmer’s markets, and finally getting to use amazing locally grown fruits and veggies. Definitely a plus.

Recently I got my hands on some fresh sweet corn (a summertime fav!) and tomatoes.  I decided to make a fresh corn succotash, and it turned out beautifully! This side dish to our grilled steak (YUM!) was filled with bright colors and bright flavors.  I highly encourage you to give it a try.

Summer Succotash

  • ½ lb. Bacon, chopped
  • 1 Medium Onion, diced
  • 4 Ears Fresh Corn Kernels
  • 1 Bag Frozen Lima Beans
  • 1-2 Tomatoes, diced
  • 1 teas. Salt
  • ½ teas. Pepper
  • 1 cup water
  • ½ teas. Dried Tarragon
  • 1 Tablespoon Butter

Cook bacon in a fairly large skillet with high sides. Remove to drain on a paper towel lined plate.

Sauté onion in bacon grease for about 5 minutes, or until translucent.

Add corn kernels and any extra juice/pulp. (When you remove the kernels from the corn, run the back of your knife over the cobs to get the extra pulp!). Cook, stirring often another 5 minutes.

Add frozen limas, diced tomato, salt, pepper, tarragon, and water. Cover and simmer 20 minutes.

Stir in butter and reserved bacon and serve!